Kayaking is a straightforward water activity. You grab a paddle. You hop onto the kayak. You start to paddle…… As a beginner, little do we know that actually we might make THOUSANDS of kayaking mistakes without we even notice!
Kayaking is a fun outdoor recreational activity. Imagine paddling on the lake or river on a sunny day, this moment cleanses our mind and soul, let ourselves forget about our stress and anxiety related to our daily lives……
Because of this, don’t be discouraged and don’t avoid kayaking because of those kayaking mistakes. In fact, most of the kayaking mistakes are quite easy to fix.
So, let’s see the top 10 common kayaking mistakes for beginners and how to fix them.
1. Not wearing PFD
Firstly, don’t be surprised by this jargon. PFD is Personal Floatation Device, which is also known as life jacket.
And urgh, this is one of the kayaking mistakes which really kills me because not wearing PFD bothers me so much.
PFD is the most fundamental safety equipment for outdoor water activity. Not only we need to wear while kayaking, we should also wear while canoeing, paddling dragon boat, rowing, etc.
We wouldn’t know if accident happens, capsizing for instance, because we cannot predict it! So, wearing PFD is essentially the same as wearing seat belt for driving. – Though the regulations for PFD requirement might not be as strong as wearing seat belt.
Also, don’t think that PFD is only required for those who cannot swim! In fact, if you are a good swimmer, I still recommend you wearing PFD while kayaking.
Why? It is because you won’t be wearing goggles and if the kayak capsizes, this might make you panic. Plus, you cannot compare the quality of water between the pool and the lake. – So, you know how this affects your swimming ability in open water.
Based on US Coast Guard Recreational Boating Statistics in 2018, there were 633 recorded deaths. 77% of the death was related to drowning and 80% of them were not wearing the PFD.
How to fix it
You’ll definitely need to put on the PFD BEFORE you enter your kayak. Apart from this, you need to consider the 2 following conditions while putting on the PFD.
- Size of the PFD – This should fit your body nicely. Picking a large size might cause the PFD slide or slip away when capsizing. A small size, however, might not provide you sufficient buoyancy.
- Whistle – This is recommended to attach to your PFD, NOT to hang around your neck! This makes sure the whistle is still around you when capsizing so that you can use it to ask for help.
2. Paddling too far away
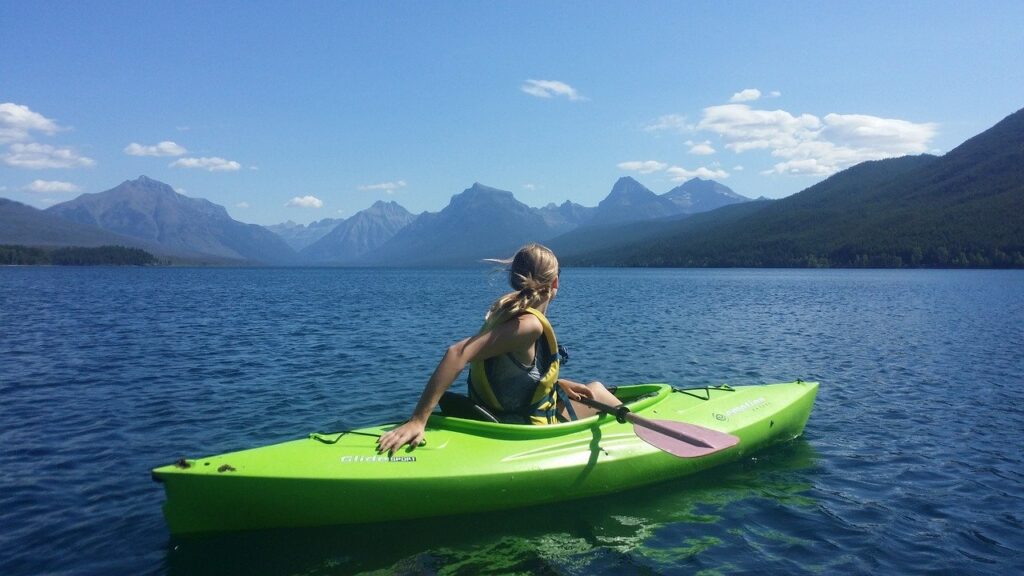
For beginners, you’ll definitely need to pay attention to this.
I know it is very tempting to explore further once you get to know how to paddle and navigate your kayak. But, you still need to know that your safety is of the utmost importance.
So, what is considered as “too far away”?
To me, “too far away” means the kayaker can’t see the shore / dock while paddling and the person on the shore / dock can’t see the kayaker either.
In case where anything happens, you can’t look for somebody’s help. Even if you ask for help, nobody can see you. – Unless there are kayakers around, but that is another story……
How to fix it
As a beginner, you just need to resist the urge to paddle too far away from the shore. Always check to see if the shore / dock is still within your vision.
Never ever explore too far away when you are paddling solo. Get comfortable with paddling and once you have confidence in paddling and navigating the kayak, then you only consider exploring further.
3. Get in / out of the kayak incorrectly
Entering or exiting the kayak should be the same as entering or exiting the car. So, this should be quite simple, right?
Hm…… if you think so, then you may need to reassess your understanding. Although entering and exiting may look simple, BALANCING and SAFETY should be concerned.
Imagine this. When you hop onto the kayak, chances are you will lose your balance. While the kayak wobbles, you can easily fall down and hurt yourself / knock your head.
Entering / exiting the kayak from the dock is even more challenging. You might lose your balance and fall into to water.
How to fix it
Learn the proper way to enter / exit the kayak.
When you are gonna do this on the shore, place your paddle on one side of the kayak so that the paddle is PARALLEL to the shore. This gives you support and stability. Do note that the paddle should be placed BEHIND the seat.
Next, enter the kayaking from THAT side with one hand resting on and pressing the paddle to give you stability. Sit properly and grab your paddle and start paddling. – You may need to use your hands to push the kayak a bit away from the shore before you start paddling.
Do the same thing in REVERSE when exiting the kayak.
The same technique can be used while entering / exiting the kayak from the dock. However, you need to be more careful because of the wobbling when entering / exiting the kayak. If possible, get another person to hold the kayak as stabilization.
4. Improper clothing
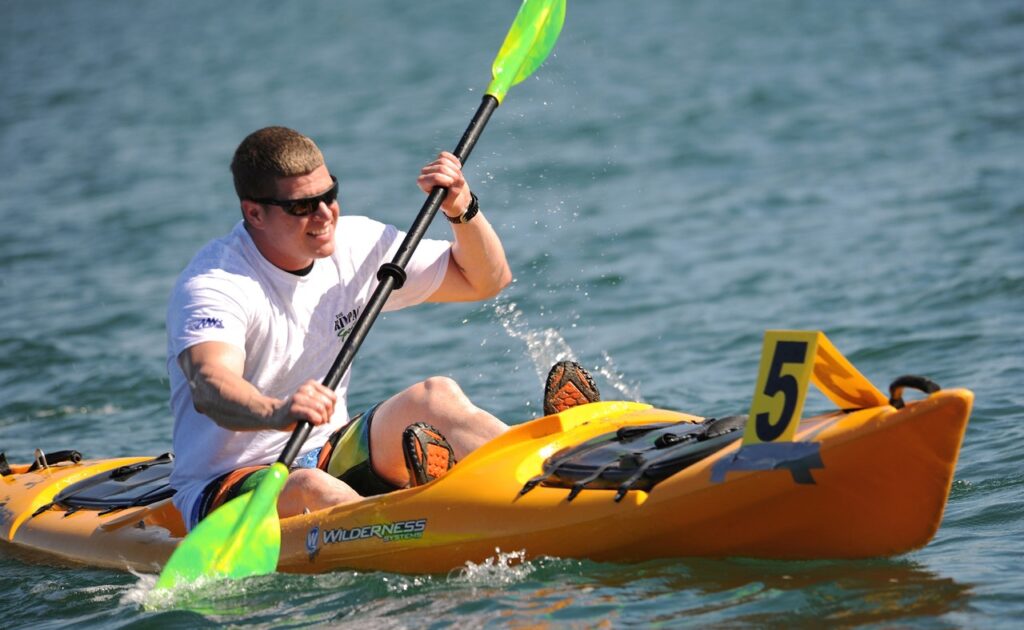
It is a common mistake for beginner to wear for the weather, rather than for the water.
While it is always recommended to kayak on a sunny day, we tent to wear T-shirt and shorts for kayaking. Worse still, the fabric is cotton.
Why is it a bad idea to wear T-shirt and shorts in cotton? You really HATE to see these when you are paddling:
- Sunburn and tan line – Apart from the ugly tan line of your arms and legs, sunburn is no kidding as it is always related to skin cancer. These get worse if you don’t apply sunscreen when paddling.
- Wet clothing – You can’t avoid water splash while paddling. Cotton is very good in absorbing water but sucks in drying. This definitely makes your kayaking extremely uncomfortable.
How to fix it
Always wear for water rather weather.
You can consider wearing synthetic fabric clothing for kayaking. You can consider wearing wetsuit or dry suit which covers your arms and legs.
Though it might not be as comfortable as wearing cotton, it can help you prevent HYPOTHERMIA, ie. loss of body heat, when capsizing.
Also, it helps prevent the ugly tan line after your long kayaking session.
5. Non-straight line paddling
Arguably this is the most common encounter for beginners when they start kayaking. We try to paddle like those professional kayakers. But, we end up navigating the kayak tilt to one-side or in a zig-zag pattern. – This is really frustrating for beginners.
This means our stroke is not BALANCED. This could be caused by several reasons.
- Different stroke – the angle when we place and draw our paddle is not symmetrical. This results in applying both “forward stroke and sweep stroke” while paddling. In my earlier post, I have discussed the purpose of both strokes, so you can check that out for better understanding.
- Different paddling strength – we have a dominant and non-dominant hand. So, we might not able to control the strength of our dominant hand and it causes a stronger stroke on our dominant side.
- Imbalanced weight distribution – it could be due to the way we sit. This will cause the kayak tilt to one side, left alone when paddling.
How to fix it
There are a lot of technical aspects to improve your kayaking efficiency which allow you to paddle in a straight line. But, for this purpose, you can try to look at the following for improvement
- Pay attention to the way you execute the stroke. Ideally, you want to place and draw the stroke CLOSE to your kayak. Avoid “drawing” an arch when you pull the stroke. – Drawing an arch is essentially a sweep stroke, not a forward stroke.
- Try to control and match the strength of your dominant hand to non-dominant hand. In fact, you may need to explore both FEATHERED and NON-FEATHERED paddles to see which one is suitable for you.
- Make sure you sit “between” the kayak and aren’t tilted to one side. You can test your sitting by slightly shaking your hips. By right, your kayak should wobble equally.
For a better understanding on this matter, you can check out the earlier post that I’ve created.
6. “Locked” paddling
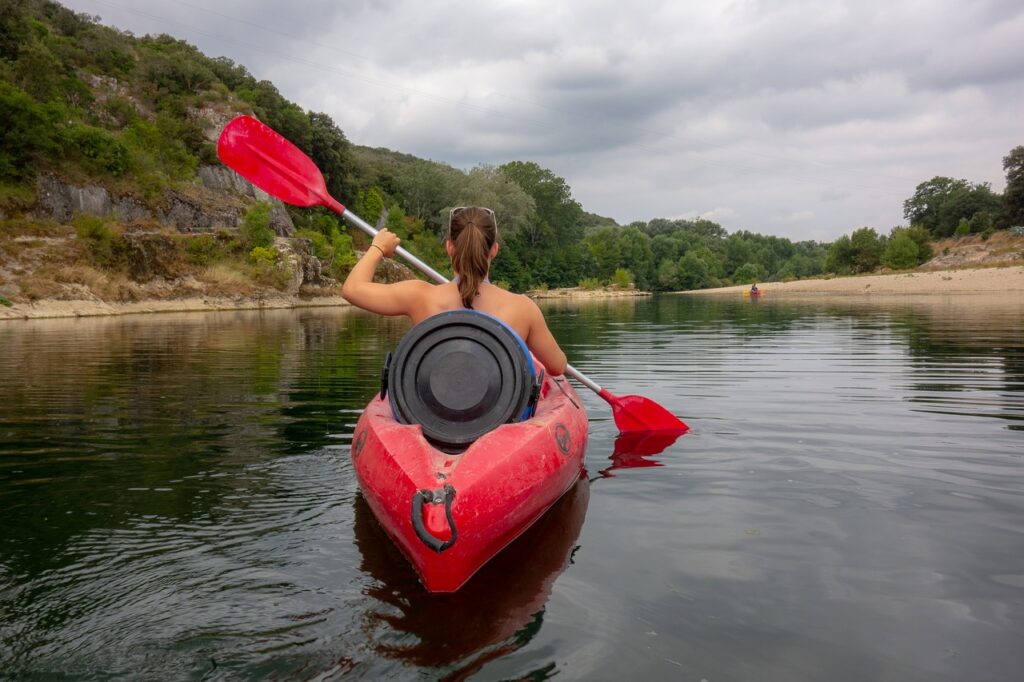
Alright, we use both hands to paddle, so technically kayaking is an arm-dominant water sport. So, we should try our best to “pull” the stroke as hard as we can in order to paddle fast.
And, we get very excited to paddle that way. Our whole body is locked and stagnant, except for the arm, due to the constant paddling.
Initially, we might not feel anything about it. But, after a few minutes, our arms start to feel sore, and we need to stop paddling to catch our breath.
However, how come those professional kayakers paddling with an incredible speed without any sign of exhaustion, and yet we struggle to maintain our paddling for a few minutes?
Believe it or not? This is also one of the most common kayaking mistakes that beginners make. We think kayaking is only about “pulling” the paddle but in fact, it is both “pushing and pulling” to paddle efficiently.
How to fix it
Firstly, adopt the mindset where you need to both “push and pull” while paddling.
Here comes the importance of TORSO ROTATION. Instead of relying your hand to pull the paddle, you should focus on rotating your torso. Also, remember while “pulling” your paddle with your hand, you need to “push” the paddle with the other hand.
Meaning, you need torso rotation to let the other hand “push” the paddle. So, if you imagine this from the top of the kayaker, the movement of the torso rotation is essentially PENDULUM motion.
Thus, you’ll notice you need to engage your core muscles a lot when paddling, not just merely your arm muscles.
For a better understanding on this matter, you can check out the earlier post that I’ve created.
7. Rush paddling
Again, look at the professional kayakers sprint paddling. Their pace is damn fast.
We wanna paddle like that. We think the faster we paddle, the faster the kayak moves through the water. So, we wanna mimic their pace and try to paddle as fast as we can.
Then we notice our strokes are reallyyyyyyy clumsy. There are tonnes of water splash; the kayak doesn’t move as fast as we expect; we even lose our balance and almost flip the kayak…
But, how come these are totally different from the professional kayakers? That is because to be able to sprint, kayakers need to master both RHYTHM and TEMPO while paddling.
While paddling, there are several phases in a FORWARD stroke: CATCH, POWER, RELEASE and RECOVERY. Different strength is needed for different phase. So, a perfect RHYTHM is able to execute the right amount of strength and right timing in the right phase.
Likewise, an efficient paddling needs right TEMPO, which is the consistent timing or pace for every stroke.
So, if we rush when paddling, the rhythm and tempo are compromised. This is why our strokes look clumsy. – And not efficient as well.
How to fix it
Slow down the paddling. Work on the technique. – Just like how we learn to walk before we run.
Work on your tempo. Count and observe your pace. Just like how you count the beats in music.
Next, work on your rhythm. Feel the strength required under different phases and try to be consistent in executing the strength under different phases.
This is really hard because it is really technical to do so. So, be patient while learning.
8. Wobbling kayak
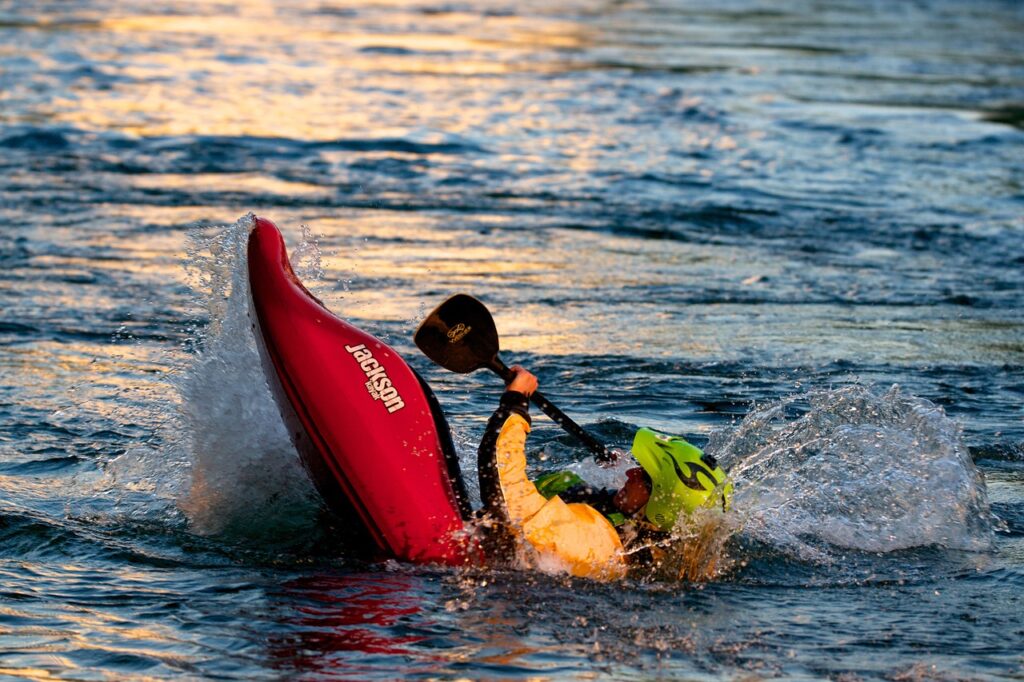
Have you ever experienced where your kayak wobbles when you are paddling? You don’t know how to control it and you even may feel like on the edge of capsizing.
Why does this happen? This means your kayak is unstable.
In kayaking, there are two types of stability, ie. PRIMARY and SECONDARY stability.
Primary stability means the stability of a kayak when it initially rests on the water. Secondary stability, however, is the stability of the kayak when edging / leaning to the side before it capsizes.
Why getting to know the types of kayaking stability matters? – The stability is highly influenced by the design of kayaks.
The design of kayaks can be broadly categorized into 2 categories, ie. Sit-On-Top and Sit-Inside kayak.
Sit-On-Top kayak has a higher centre of gravity, as the kayakers need to “sit on top” of the kayak, but with a much wider base of the kayak. So, compared to Sit-Inside kayak, Sit-On-Top kayak has weaker secondary but stronger primary stability.
Sit-Inside kayak, however, has a lower center of gravity, due to the kayakers “sit inside” the kayak, but with a long and narrow base for the kayak. So, compared to Sit-On-Top kayak, Sit-Inside kayak has stronger secondary but weaker primary stability.
How to fix it
You need to understand kayaking stability by learning EDGING and LEANING. – You need to hold your paddle to train your stability but don’t have to paddle at all.
You can check out this article with video demonstration for your understanding.
But, if you are a recreational kayaker, you can consider using Sit-On-Top kayak because it is much more stable on the water due to the wide base of the kayak. – Though it is much slower than Sit-Inside kayak.
Also, the chance of capsizing is very low. Even if you capsize, it is much easier to climb back to the kayak. – So, it is definitely a perfect choice for recreational kayaking.
9. Leaning back
For beginners, it is intuitive for us to lean our back while sitting on the kayak and paddling. This is really comfortable and a “perfect” posture to paddle while enjoying the environment.
We like to do this as if we are lying on the couch while watching TV shows.
But, even for recreational kayaking, leaning back while paddling is actually not a good posture because it is a LAZY kayaking posture. There is no torso engagement at all, meaning the torso muscles are not activated when paddling.
When you don’t engage your torso, you don’t achieve full range of motion while paddling, making your stroke short and inefficient.
So, you see a lazy posture can detrimentally impact your stroke. – If you insist on leaning back while paddling, don’t complain that you can’t paddle properly……
How to fix it
Your posture should be NEUTRAL, meaning we sit straight but also relaxed. – So, don’t deliberately tense your back to sit straight.
You have to look forward, but not on the kayak. Your vision helps navigate where you want to go.
Always maintain this posture while paddling to allow torso engagement in paddling.
10. Never hydrate yourself
Although kayaking is a recreational activity, it is still considered as a rigorous exercise and is comparable to running or hiking.
Try to paddle for an hour, I believe you would like to take a break and catch your breath. This means your body works really hard when paddling.
Since it is a rigorous exercise, we sweat while paddling. And, we need to hydrate ourselves while paddling. If otherwise, we might have DEHYDRATION, which might increase our heart rate and body temperature……
I experienced before. I regretted for not bringing water bottle when kayaking and I was so thirsty. – You know how awful it is when you are so thirsty and yet you don’t have water to drink.
How to fix it
Just carry 1-litre to 2-litre water when you want to kayak. – Simple as that.
Final thought on kayaking mistakes
Whether you are a beginner or not, I believe you would be agreeable to the common kayaking mistakes above.
In fact, there might be other kayaking mistakes out there which are not included in this post.
The point here is to allow the beginners to be aware of these common kayaking mistakes so that they could avoid or fix them.
In fact, apart from the technical aspects on how to paddle efficiently, many of the kayaking mistakes are easily fixable and preventable.
So enjoy your kayaking experience and start to paddle like an experienced kayaker even if you are a beginner!
Relevant Posts:
