Since the ancient time, hiking is gaining its momentum and it slowly takes the spot to become one of the most popular outdoor recreational activities around the world. As a result, proper basic hiking skills become increasingly important as well.
Furthermore, with the intensive usage of social media in recent years, we can see a sudden boom in the popularity of hiking.
Even you know it. You open your social media, and check the photos, status or stories, what do you notice?
Food, travel, outdoors, hiking, fitness. – That’s right! Hiking is one of the popular trends right now!
It is good news. There are getting more and more people into hiking.
Despite being a relatively simple outdoor recreational activity, hiking actually requires some basic skills, although they are sometimes overlooked by the beginners and even the experienced hikers!
Right now, let’s look at some basic yet essential hiking skills. Knowing these hiking skills is needed to start hiking as beginners. Well, experienced hikers should also be aware of these for their next hike.
1. Research and planning

Before talking about those fancy basic hiking skills, let’s start with the basic first. The general rule: never ever attempt a new hike without proper research and planning. You know how dangerous it is because it is so risky and there are so many uncertainties in the forest or mountain.
You need to be well prepared for the hike so that you are aware of the risk and uncertainties and know how you are going to react or manage if those happen.
Generally, you need to research on the following matters:
- Length of trail
- Condition of trail
- Weather
- Distance between the trail and your house
- Possibility of wild animals on the trail
- Permit requirement
Take note that when you first research for your hike, you need to know whether you want a day hike, backpacking or whatnot. Of course, the above matters should fit your purpose.
After that, you can plan your transportation and accommodation accordingly as well as the essential gears and equipment.
You won’t want to overpack for your day hike or underpack for your backpacking, right?
Next, remember to inform someone about your plan. They could be your friends, family members, or even colleague. – This is a contingency plan in case of emergency happens!
The above is just a brief explanation on the importance of research and planning for hiking. A detailed explanation will be covered in a separate post.
2. Gears and equipment for safety
Alright, so you have done your research and planning and you have general idea on bringing the essential gears and equipment for your hike.
Nevertheless, you may face the “just in case” dilemma when you are deciding what gears and equipment that you need to bring for your hike.
You may either “overpack” or “underpack” your backpack / daypack because of the “necessity vs weight” situation. Don’t overlook this, because this is one of the basic hiking skills which hikers struggle.
However, no matter which situation is, SAFETY should be our priority when packing gears and equipment.
Why do we need to pack for safety?
What if we only go for a short day hike? – To me, we still need to pack for our safety.
Why?
Because we don’t know what might happen when hiking which put ourselves in a dangerous or emergency situation.
If this happens, our gears and equipment could be our savior to escape from the situation!
So, we need to know the Survival Rules of 3. Our lives will be in danger if:
- 3 Minutes without oxygen
- 3 Hours without shelter to keep our body warm
- 3 Days without water
- 3 Weeks without food
What do we need to pack for safety?
You’ll notice the priority is in descending order due to the timing urgency to survive.
Similarly, the emphasis on packing our gears and equipment should also be based on the order accordingly. Usually, we won’t face oxygen depletion (unless for high altitude climbing and mountaineering). So, we need to place the most emphasis on keeping our body warm, followed by the water and food.
Generally, the recommended gears and equipment are:
- Down jacket – to keep our body warm
- Big plastic bag – to keep our body warm
- Tent – to provide shelter
- Sleeping bag – to keep our body warm and shelter
- Extra water (hydration bag / water bottle)
- Snacks
However, you should always exercise your JUDGMENT in bringing the necessary gears and equipment for your hike.
Furthermore, you also need to consider the following:
- First aid kit
- Multi-purpose knife
- Whistle
- Lighter
These items will become very useful when uncertainties happen, so that you can use that to handle these.
The above is just a brief explanation on the packing gears and equipment for safety purpose. A detailed explanation will be covered in a separate post.
3. Navigation
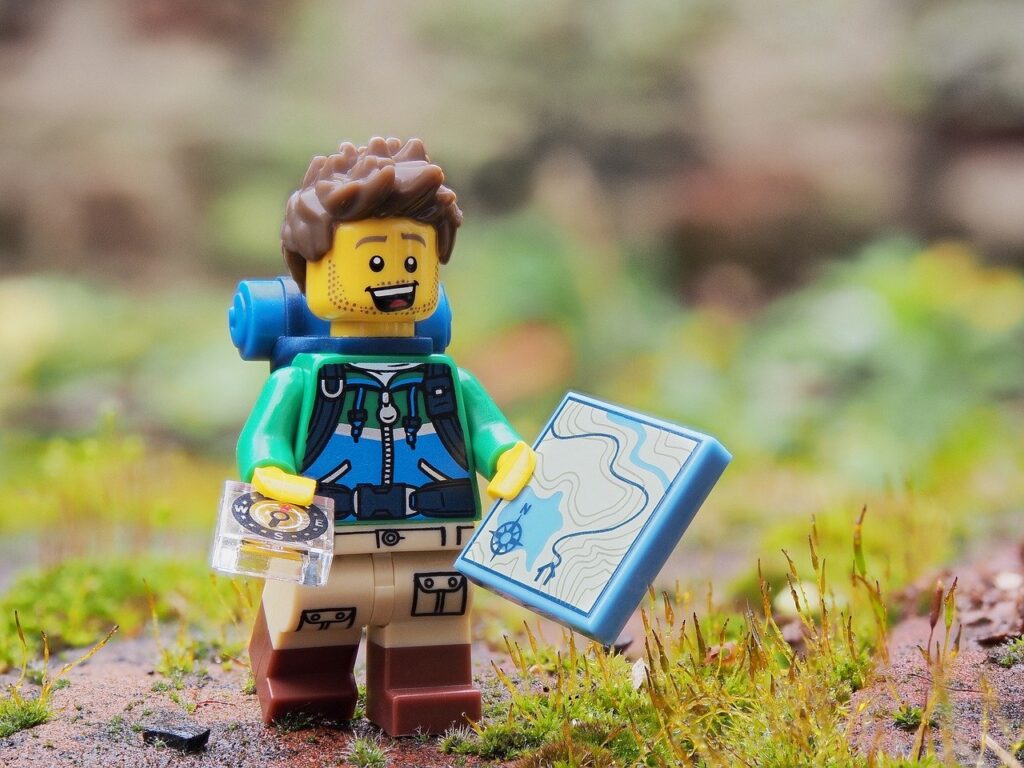
We must know how to navigate while hiking, even for group hiking. Here’s the reason. What if the leader couldn’t navigate properly because of relying outdated information?
It is never fun if you are unsure of your location when hiking. You put yourself in danger or emergency of getting lost in the forest / mountain.
This exactly applies to GROUP HIKING as well. That is why you could see some groups were lost in the forest when hiking. – Group hiking doesn’t guarantee your safety and give you reason not knowing the navigation!
Generally, there are several ways of navigation which you could consider:
Screenshot
Sometimes, hikers share the instruction, map of the trails and also the photos of the trail in their blog posts. So, screenshot the instruction, map and also photo is useful for reference purpose.
However, screenshot is only recommended as a supporting navigation method as it couldn’t “pin point” your location when you are on the trail. Plus, you might not get the updated information about the trail if the blog post is not updated. – At least, it is still better than nothing.
Google Map
Google Map covers hiking trail. Surprisingly, the hiking trails covered under the Google Map are quite extensive and up to date. So, you can use Google map to navigate you while you are hiking, given that GPS and data coverage are available while hiking.
Of course, GPS and data coverage are always unavailable when hiking in remote forest / mountain. In this case, you can consider using Google Map Offline.
You can download the map that you want before you go for hiking. So when you are in the jungle, you can use the offline map to navigate.
Outdoor adventure app
If you want a better navigation tool than screenshot and Google Map, you should consider using outdoor adventure app.
Outdoor adventure app provides navigation for hiking, mountain biking, running, etc. Apart from a reliable navigation tool, it also provides necessary information on the trail, such as length, condition, altitude, difficulty of the trail.
Plus, you can plan your trail by using the app. – A great tool for training and challenging yourself for tough hike.
Generally, you can use the offline app, even if you get the free version. But, you may need to pay for a premium to get the enhanced feature of the app.
GPS smart watches
The features are very similar to outdoor adventure app. But, the biggest perk is the long battery lifespan. The battery can last for many days and it can be prolonged while exposing to sunlight.
So, you see GPS smart watches are commonly used by trail runners and experienced hikers for training and planning on their hiking / running routes.
The downside is, however, GPS smart watches are usually very pricey. – That is why many hikers prefer the app due to economic reason.
Maps and compasses
Ok, since we have the advanced navigation tool, why should we bother to read the maps and compasses?
Maps and compasses are still the FUNDAMENTAL navigation tools because of the possibility of running out of batteries of our smartphone and smart watch. Or, they might not function because of water and other reasons.
However, learning to navigate by using maps and compasses can be tedious and complicated. So, it may take time to learn or you may need someone to teach you on this.
4. Trail marker recognition
Hiking on the trail is just like walking along the road / street. You just follow the direction.
But, hikers also understand that the trails may not always be clear like the road. Sometimes, we even couldn’t differentiate whether it is the trail or not when the trail is VAGUE.
To solve this issue, there are trail markers along the trail so that hikers recognize the trail and they won’t deviate from the trail. – Meaning, if you fail to recognize the trail markers, you risk yourself deviating from the trail and getting lost while hiking.
The general trail markers can be in either of the following forms:
- Signboard / post
- Paint on the trees
- Flags / ribbon on the branches or tress
- Ropes between the branches or tress
But, trail markers may vary depending on the territory or nation. So, if you are unsure of trail marker, you can ask the hikers around by chance. Most of the hikers are very friendly and willing to let you know.
5. Observant
Do you have the tendency to keep your head down when hiking? – If yes, then I’m not surprised. LOL!
Why? – Because I am one of the population!
This is a bad habit. In fact, there are quite a number of hikers also have the tendency to keep their head down, which suggest this is a common issue when hiking.
Well, we should look to the front and observe around the trail. – See, why waste the moment where we could enjoy the Mother Nature?
Look to the front and observe the surround also make us more OBSERVANT so that we know what is happening on the trail.
For example, being observant allow us to recognize the trail. We can even take photo of junction of the trails or specific plant or tree for our personal recognition. Being observant also lets us be aware of the existence of wild animals, so that we can react appropriately if they appear.
Being observant doesn’t only refer your eyesight, but also your HEARING. Some hikers like to put on their headphone and listen to music. Although it is ok, listening to music while hiking never interests me.
Since they come for hiking, why are they still intrigued by the man-made sound, instead of enjoying the silent moment? – If so, why don’t they stay at home and listen to the music?
In fact, you allow yourself to be aware of the sound of wild animal (if any) so that you could react accordingly.
Also, you can reply to the hikers if they are calling you. – Maybe they want to remind you something?
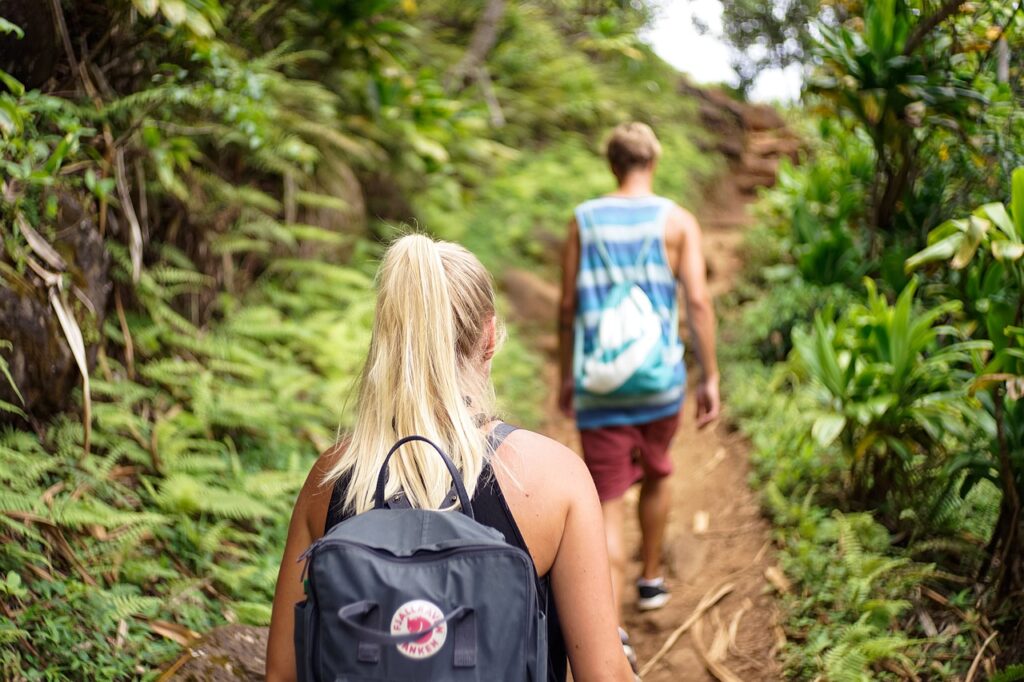
6. Team coordination
Group hiking gives you better security and makes you feel safer when hiking. But, it doesn’t mean you can let your guard down.
While hiking in a small group, the group must have a TEAM LEADER to coordinate and lead the team. Of course, experienced hiker is preferred to be the team leader. Then, the group members need to hike together and follow the team leader.
Pace ADJUSTMENT is crucial for the fast hiker so that the slow hiker can accommodate the pace.
If the group is big, apart from having a team leader, a SWEEPER is also required to be the last hiker in the group. Of course, experienced hiker is preferred to be the sweeper as well.
Sometimes, it is difficult to maintain the pace for the big group, even if the fast hikers adjust their pace. As a result, the group is stretched and drags the overall hiking pace.
In this case, the big group can be further broken down into smaller groups, based on the experience and pace of the hikers.
But, regardless of the group size, the group members must hike BETWEEN the leader and sweeper. Meaning, no hiker should surpass the leader or hike behind the sweeper.
Whenever the hiking members need to stop or whatnot, they should INFORM the leader / sweeper. Never ever leave the group without the notice of the leader and sweeper.
Of course, the leader and sweeper must do HEADCOUNT from time to time to ensure all hikers are in the group.
In essence, hikers need to know the role they play while hiking.
7. Ascending

This is the most strenuous part yet the most exciting part when hiking. – Your heart pounds; you sweat excessively; and you take a break to catch your breath.
Regardless of the length of the rail, imagine yourself taking each and every step to hike uphill and eventually you reach the peak of the mountain. You will feel a great sense of achievement while standing on top of the mountain, despite all the suffering while ascending.
Aside from the achievement that you feel, there are actually some tips to make ascending easier and more efficient.
Warming up
Arguably the most overlooked aspect when it comes to hiking. In fact, you could just take a few minutes to do some simple stretching so that your muscles are warmed up and ready for rigorous activities.
If otherwise, the muscles will be very tight and you need to take extra effort to ascend. Also, you increase the chance of injury.
Take small stride
Pay attention to your step when you hike uphill. You’ll notice your steps are quite big and wide and in fact, this is the common instinct when we are hiking.
But, you observe those cyclists how they ride the bike uphill. The cyclists switch to easy gear when they cycle uphill. Effectively, this increases their cadence and reduces the strain on the leg.
Hiking uphill is similar to cycling uphill. Big and wide steps are equivalent to “hard gear” in cycling. So, try to take smaller stride, i.e. the easy gear, when hiking uphill and naturally increasing your cadence.
Hiking with small stride conserves a lot of energy so it reduces the strain of your legs.
Don’t be afraid of losing your pace, because you may hike faster due to lesser time to rest / take a break.
Power hiking
Power hiking is a common technique used in trail running when the trail runners want to conserve their energy while ascending, as well as maintaining their speed.
So, if you want to hike fast and efficiently, you can try power hiking.
The biggest difference is the posture of the hiker. Instead of walking “tall” while hiking, you need to LEAN your body forward so that you shift your centre of gravity forward. At the same time, place your hands on your thighs to act as support due to the switch of centre of gravity when you are ascending.
Essentially, you reduce the load of your thighs and calves when power hiking.
Use trekking pole
Perhaps this is the easiest way to hike comfortably as well as reduce the chance of ankle and knee injuries. Using trekking pole, however, may reduce your pace.
8. Descending
Most hikers feel descending is much easier and less tiring than ascending. I’m pretty sure you have this feeling as well: after reaching the peak of the mountain, you feel like you have finished your hike, even though you just complete 50% of your hike.
Because of this, many hikers let their guard down and want to descend ASAP. Instead of descending properly, they HOP while descending, creating these “bum, bum, bum” sound for every step they take.
This creates huge amount of force impact on the knees. If this habit is not addressed, the hikers may develop hiker’s knee in the long run. – Knee pain and injury.
Steps you can consider while descending
Step 1 – Don’t lock your knees. Let your knees bend while ascending so your knees have additional time to absorb the impact.
Step 2 – Don’t hop. Slow down your pace and try to place your steps gently on the trail.
Step 3 – Try to use forefoot strike. This is quite difficult to break, though, as people intuitively walk with heel strike. The principle is similar to running, as forefoot strike prevents ankle pain and injury.
However, this is up to you because forefoot strike may cause muscle cramp if you strain your calve muscle too hard when descending.
Step 4 – Use trekking pole. However, this is optional.
9. Survival
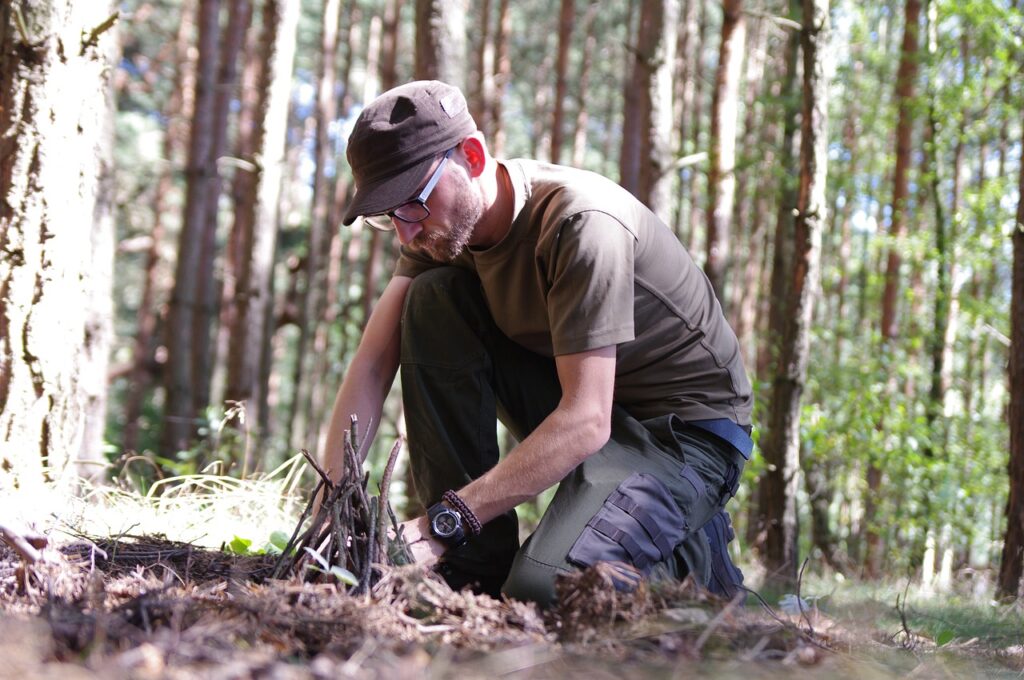
Sometimes, even you have prepared well for your hike, uncertainties might happen while hiking. So, you need to be prepared to face the uncertainties.
That is the reason you should also learn wilderness survival skills for hiking. Wilderness survival skills are like INSURANCE to protect or even save you from emergency.
However, we cannot deny that there are so many things to cover under the wilderness survival skills, and we don’t know what and how to start for learning.
Yes. So, if wilderness survival CLASS is available, it’s definitely a good opportunity to sign up. Or, at least you can watch Youtube video to have an insight on the survival tips and skills.
The wilderness survival skills can be broadly classified into the following areas:
Injury
Injuries are common when hiking such as muscle cramp, blisters, bleeding, ankle sprain, and many more.
So, if you bring your first aid kit, do you know how to use them? What if first aid kit is not available, then how to remedy the injury?
Animal attack / animal bite
Even if you have done a proper research on your hike, there is still a remote chance that you might meet wild animal.
What if you meet mountain lion, snake, bear, leopard, wild boar, etc? Do you run away or face them? What do you need to do to AVOID animal attack?
In fact, different strategies need to be applied depending on the animals that you meet.
Furthermore, if you get bitten by a snake, for instance, how do you know whether the snake bite is venomous or not? If it is venomous, then what should you do to save yourself?
Changes in hiking plan / emergency
Sometimes, changes in our plan may occur while hiking. For example, you hike much longer than your expectation and you may need to spend a night to stay in the forest. – So, your day hike becomes a long hike.
Then, you may need to know how to fish and hunt for food. So, you may need to know what kind of plants can be eaten or are poisonous. And, how do you make a shelter if you don’t have a tent?
Or, if you are lost in the jungle, what should and shouldn’t do while waiting for the rescue? Based on the Survival Rules of 3, how do you make use of your gears and equipment available?
10. Setting up a tent
Tent is a basic shelter when you are exploring outdoors. If you want to go for long-day hike or backpacking, getting to know how to set up a tent is definitely a requirement.
After all, you don’t want to always rely on your hiking buddies to set up a tent for your, right?
In fact, as mentioned above, knowing how to set up a tent is also a part of survival skills for hiking.
I’ve got to know some hikers carry an ultra-light weight tent even for a day hike. Most people, including me, don’t bring tent for a day hike because it is redundant. But, we couldn’t deny that it is a wise move for safety purpose.
There may have different ways of setting up a tent, depending on the design of tent. But, usually the way of setting up a tent is quite SIMPLE and INTUITIVE.
So, you can actually read blog posts or watch Youtube videos to learn how to set up a tent. In fact, blog posts and Youtube videos nowadays are very good methods for self-learning purpose.
11. High altitude hiking
For those who have experience in high altitude hiking and trekking, they would agree that this is totally different from low altitude hiking and trekking.
If you plan to hike Mount Kilimanjaro or Inca Trail, or trek to Everest Base Camp, you’ll definitely need to know about this.
This is because high altitude hiking is always related to ALTITUDE SICKNESS. FYI, altitude sickness is the discomfort reaction of the body due to low concentration of oxygen and air pressure in high altitude area.
The common symptoms include headache, nausea, shortness of breath, fatigue, etc. The symptoms can be EASED when the hikers ACCLIMATISE high altitude and disappear if the hikers get back to low attitude.
Altitude sickness, however, can be life-threatening if it proceeds to
- High-Altitude Pulmonary Edema (HAPE) – excessive fluid on the lungs
- High-Altitude Cerebral Edema (HACE) – excessive fluid on the brain which causes brain swelling and distorts brain function, such as hallucination.
How to manage high altitude hiking?
This is an advanced skill if compared with other basic hiking skills. Unlike low altitude hiking, you need to Hike Slowly to preserve energy. You try to reduce the oxygen consumption for hiking.
As suggested above, you need to have Small Stride. On top of that, you need to hike with Trekking Poles.
Never ever rush your hike. And, don’t assume that experienced hikers won’t suffer altitude sickness. In fact, experienced hikers may suffer worse altitude sickness symptoms because they are used to fast-paced hiking.
ACCLIMATISATION is the key. You need to let your body adjust and get use to the low air pressure and oxygen environment. Optimize your SLEEP and REST to let your body recover and conserve energy. – So, don’t intend to throw a party, alright?
If you are concerned on getting altitude sickness, you may consider taking altitude sickness medicine BEFORE your hike. Consult your GP or pharmacist is recommended.
Expect to have Multiple-Day Hiking. Don’t burden and rush yourself to complete the hike as soon as possible. Be prepared to spare additional days for your hiking plan because you may need to shorten your daily hike while hiking high-altitude.
Final thought: basic hiking skills
The above are the basic yet essential skills and techniques required for hiking. While they are important for beginners to start hiking, experienced hikers may also need to take note of these as sometimes they may overlook the hiking skills.
In fact, we keep learning and improving our hiking skills while we accumulate our hiking experience. – Well, I’m still exploring and learning the skills in certain aspects stated above.
So, don’t expect yourself to know ALL of these hiking skills before your first ever hike. Give yourself permission to absorb bit-by-bit and you’ll notice the rest will come in handy when you gain your hiking experience.
Relevant posts