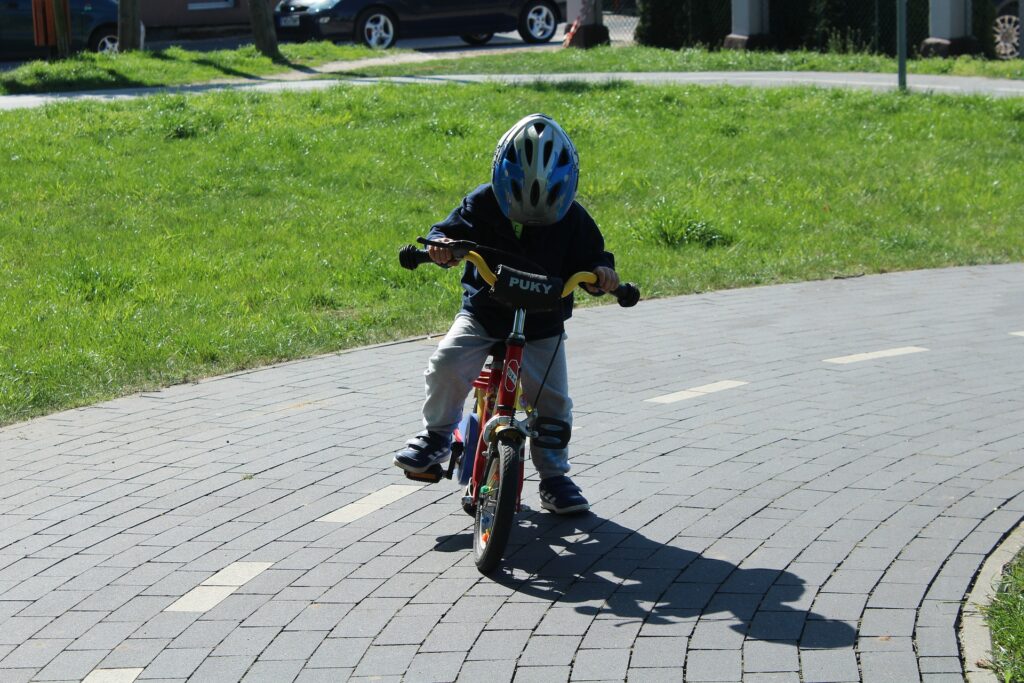
On a Sunday morning, you finish jogging and you take a moment to rest on a bench in the park, drinking water to hydrate yourself. You see a mother is teaching her kid, a 3-year-old boy, perhaps, to learn cycling.
“Ah, ha ha ha ha ha…….” A very high-pitched voice from the kid and you get caught by the scene.
He is happily expressing his excitement while he is riding wobblily a bike. “Mommy, mommy, look! I CAN do this……..”
“I saw THAT, great! I’m so proud of you, George!” The mother shouts her excitement with her shaky voice.
You see this MOMENT. You are happy that the child had learned how to ride a bike.
“Ah, how I WISH I know how to ride a bike, too.” This is your childhood goal, but you never had a chance to learn cycling.
But, you may feel embarrassed to learn cycling as an adult.
Well, you don’t have to feel embarrassed because you are actually not alone.
In fact, as an adult, it is possible to learn cycling on your own, without an instructor, and I show you how.
1. Learn cycling by getting a bike
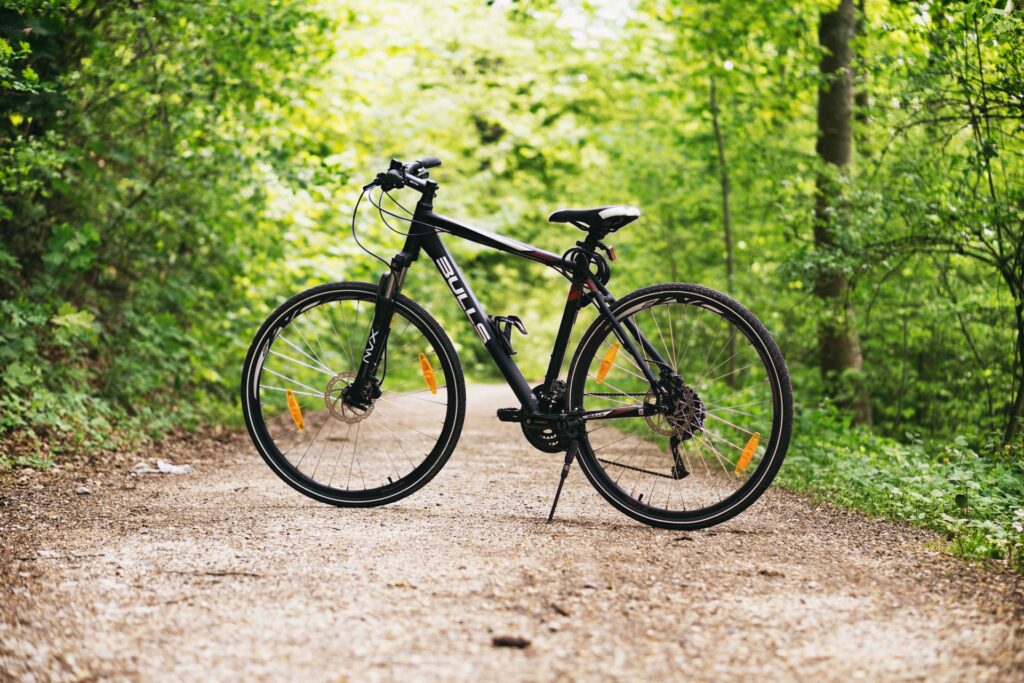
Of course you need a bike, right?
For this purpose, you just need a basic bike, as long as it has brakes. – Hmm, are there any bikes without brakes?
You can either rent or borrow a bike from your friend. Right now, I don’t really recommend you to buy a new bike, because you may need to invest in a proper bike once you know how to ride a bicycle. – Because buying a suitable bike is not cheap.
You don’t need those fancy bikes for now: road bike, mountain bike, electric bike, etc.
Unless you are quite determined which type of bike you want, then you can go ahead and buy it.
2. Check the bike condition
Don’t forget to check the bike condition once you get the bike.
Check the tires. Make sure they are pumped up.
Adjust the saddle to the position slightly lower than your hips. Because if the saddle position is too high, your feet won’t be able to touch the ground when you get on the bike and it makes you feel awkward.
Then, lift the rear wheel and use your hand to steer the pedal to ensure the chain is lubricated and the wheel rotates smoothly.
Last but not least, test the brakes to ensure the brakes are NOT broken. – You don’t want a malfunctioned brake, right? And, it is dangerous too!
3. Safety gears
Never ever forget about the safety, especially when you are learning how to ride a bike.
You need a helmet, knee and elbow pads to protect you. Those are very useful to prevent injuries in case you fall down from the bike.
Don’t presume helmet is only important to motorbike. Helmet is equally important in cycling.
A study has shown that there are about two-thirds of serious injuries require hospitalisation and three quarter of the cyclist’s death are related to head injuries. In addition, children of ages between 4 to 8 years old in Netherlands involved in bike crash result in head injuries and are required to admit to the hospitals.
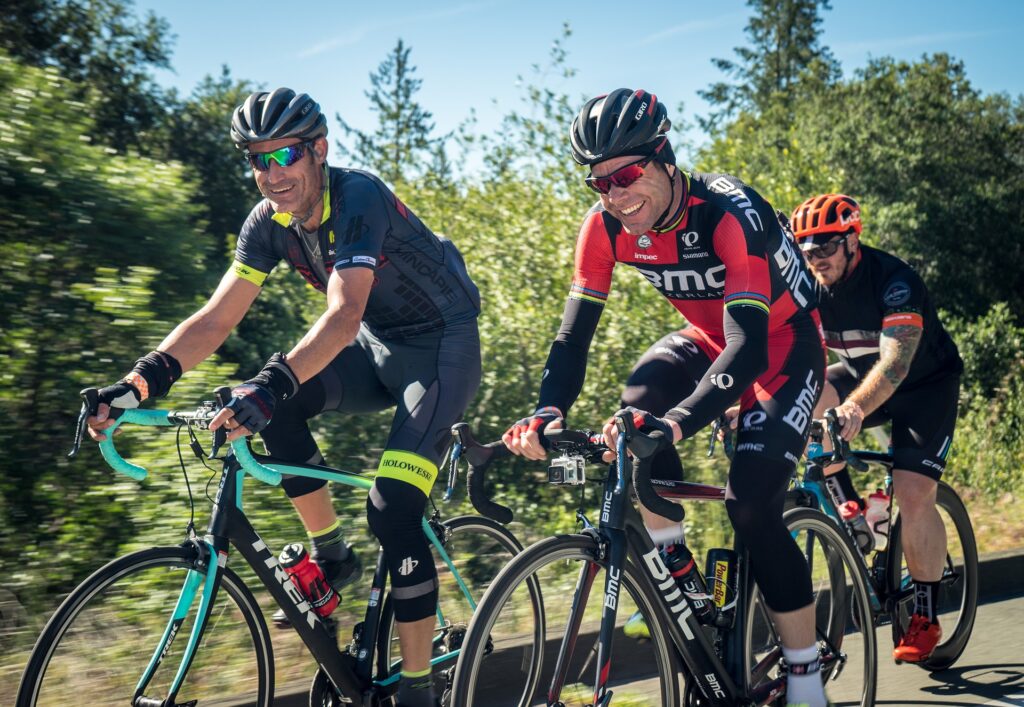
And, don’t worry that you look stupid by wearing the helmet. It is perfectly normal to wear the helmet.
Take a look at these professional cyclists. They still wear helmet – Be comfortable by wearing it.
4. Proper location to learn cycling
Bike, checked; Condition, checked; Safety gears, checked.
Next, find a location to learn cycling.
You could learn on the pavement of the park, or your house yard, or an open or flat space which allows you to ride a bike freely.
Never ever learn cycling on a road. You definitely know how dangerous it is. – Plus, you might give drivers or passersby a shock.
5. Embrace the fear of falling down
When you want to learn to ride a bike, you need a proper mindset. – Don’t be afraid of falling down.
I know: who likes to fall down and gets injured?
But, if you are afraid of falling down, you actually build up your anxiety. Here, you purpose is switched from “I want to learn to ride” to “I don’t want to get injured”.
Then, you restrict you movement when you are learning and your whole body gets tensed. – Do you think you could learn fast?
The anxiety is unavoidable, but you just need to embrace the fear, Trust the safety gears. Trust YOURSELF.
6. Get on the bike
This is your first real exposure to ride a bike.
First, hold the bike on one side and then lean the bike to your side.
Next, use your leg to arch over the bike and sit on the saddle.
Double check the height of the saddle, see whether you feel comfortable of the height of the saddle. Get off the bike and adjust the height of the saddle if necessary.
Ideally, your legs should be able to touch the ground. But, also observe that your legs should be “almost” extended, not totally, with your knees slightly bent.
7. Scooting
Many beginners straight away jump to learn cycling by pedaling. However, I recommend you to learn gradually.
First, learn about BALANCING before you start pedaling.
This is why here comes the importance of SCOOTING. Scooting is where a cyclist feels the glides without pedaling.
Scooting helps you navigate and understand how to balance your bike when you are gliding. This is because riding a bike is all about balancing. – Because you are actually learning a NEW skill.
Maybe you think the progress is slower than those who don’t learn scooting. Well, actually, you may be surprised that your progress may be faster than those who don’t learn scooting.
So, let’s try both one-foot and two-feet scooting.
One-foot scooting
Don’t worry, it is quite simple. Hold the handle bar.
For this purpose, start from your right foot.
Channel your right pedal to 6-o’clock position. The left pedal will be at 12-o’clock position.
Place your right foot on the right pedal, while your left foot touches the ground.
Then, push your left foot backward off the ground. Your bike will then move forward.
You have to look FORWARD. Forward vision helps you balance your bike.
Don’t have to move your right foot. Let it stay on the pedal.
Try to repeat this step, until you are familiar and comfortable with scooting.
Then, switch to the other foot and repeat the same.
Once you’re comfortable in both sides, you can graduate from it and move to two-feet scooting.
Two-feet scooting
Now, your pedals serve no function. However, as a beginner, you need to hold BOTH the handle bar and the brake lever. This is to ensure you can brake immediately in case you want to slow it down.
Scoot the bike with your legs alternatively. Once you build up certain momentum, try to let your legs stay off from the ground. Let yourself feel how the bike moves forward.
Again, you need to look FORWARD.
Here, you may start to feel your bike wobble a bit. Don’t panic, this is where you learn how to steer your bike. In fact, this is important when you start pedaling.
Don’t push yourself too hard on this. If you feel like you are about to fall down, just slow it down and stop. When you are ready, you can continue doing this until you feel comfortable.
Then, you are ready for pedaling.
8. Pedaling to learn cycling
This gives you the actual feeling on how to ride a bike for the first time.
Just like two-feet scooting, you have to hold both the handle bar and the brake lever.
While sitting on the saddle, pedal backward with either one of your feet so that one side of the pedal is at 2- or 3-o’clock position.
Place your foot on this pedal and start pedaling. Your other foot remains on the ground.
When your bike moves forward, place your other foot on the pedal and start pedaling with both feet.
Again, look FORWARD.
You’ll discover your bike keeps wobbling and it is much harder to steer your bike.
Just continue and try to speed up a bit because it is easier to balance the bike at a higher speed.
If you feel you are about to lose control, press the brake lever to stop your bike. Stabilize yourself from being falling down by placing your feet on the ground.
Take a moment to rest and reflect what you have done earlier.
When you are ready, continue pedaling.
But, if you have a friend next to you while you are learning how to ride a bike, your friend could help you in this.
When you are pedaling, you can ask your friend to hold the saddle or press your back gently to provide you extra stability. He’ll need to release his hand once you are able to stabilize your bike and let you keep pedaling.

9. Just get up when you fall down
Falling down is unavoidable when you want to learn cycling.
It is OK to fall down, don’t feel bad and embarrassed, just get up and continue.
After all, we learn while we fall, right?
I remember I learned cycling when I was 5 years old. I was so intrigued by cycling and I just straight jumped to pedaling without any safety gears. – Yeah, I learned by myself and who expects a kid to have proper planning when it comes to learning to ride a bike?
And guess what? I fell down A LOT! And I had bruises and injuries on my knees and elbows. Fortunately, I managed to ride a bike eventually. I really enjoyed the whole process despite all the falls and injuries!
I hope you could take this as a lesson before you started learning. Most importantly, I want to let you know that you shouldn’t worry too much about falling down. – This is part of the learning.
Final thought: learn cycling on your own
How long does it take to ride a bike for adults? – It depends.
If you manage to learn to ride a bike after your first learning session, I’d be happy for you.
Even if you still couldn’t ride a bike, don’t be demotivated. – Because you are making a PROGRESS.
Don’t think of learning to ride a bike is a challenge, rather think of it as an enjoyable moment. You’ll definitely cherish yourself when you unlock a new skill.
It takes patience and time to learn cycling on your own. As long as you keep practising, riding a bike is just a matter of time.
Relevant posts