Efficient kayaking technique always makes me excited. I really enjoy watching sprint kayaking in the Olympic Games, watching the kayakers paddle like a rocket, hoping that the kayakers will break another world record.
If you are reading this, most probably you like to watch Canoe Sprint category, especially kayaking sprinting categories, such as K1, K2 and K4.
Why? Because watching the kayakers paddle for 200 metres, 500 metres, or even 1000 metres with such a great speed with the energy taxing paddling. – You wish you could be like them someday!
Maybe when you compare them to yourself, you may even struggle to paddle for 200 metres without taking a break, let alone to achieve the speed of the professional kayakers!
Because, the professional kayakers have great kayaking technique. They don’t solely rely on their shoulders and arms to paddle. They use their whole body to paddle.
Well, it is also achievable for you. You could also improve your kayaking technique by observing the below aspects.
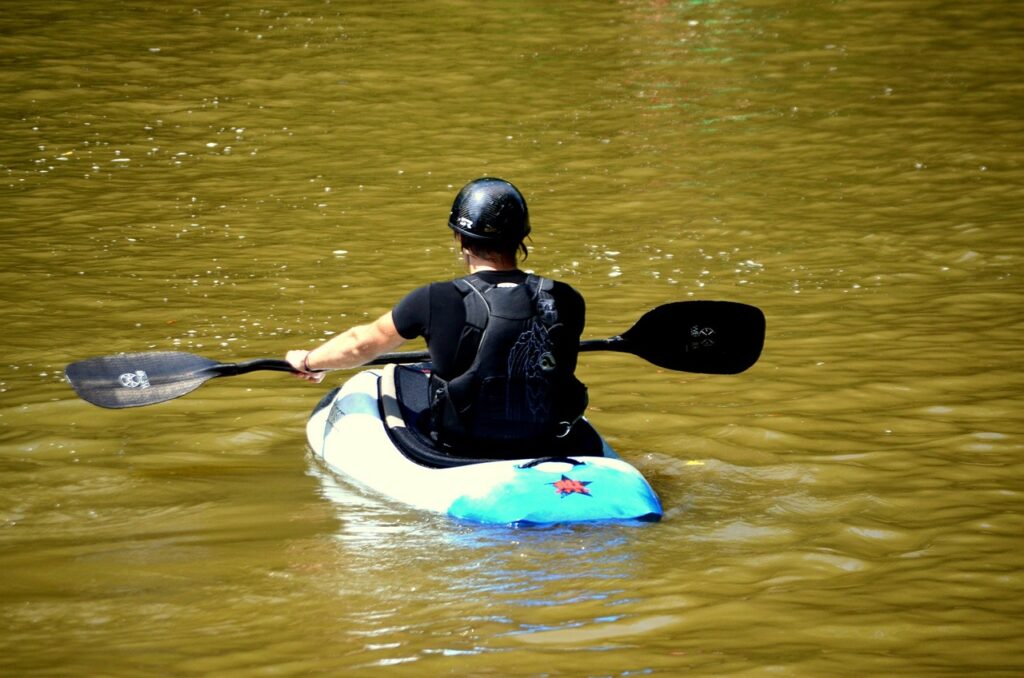
1. Paddling
In my earlier post, proper way to hold paddle was introduced. That is, place the centre of the shaft above your head. Then hold each side of the shaft with your hand and adjust accordingly, until the angle of your elbows is around 90 degree.
Then, notice how you hold the paddle. Are you gripping the paddle too hard?
Ideally, you should grip the paddle firm but not hard, meaning you “hold” the paddle by using your thumb and index finger, whilst the rest of the finger should be loose to allow a better movement of your paddle. – It looks like an “ok” grip.
Ok, so maybe you paddle a few times and have some experience in kayaking. You are aware of the two types of paddle, i.e. unfeathered paddle and feathered paddle.
Which type of paddle should you use? – It depends on your preference.
But, if you want to proceed further, you may need to master feathered paddling.
Let’s explore both types of paddles.
1.1 Unfeathered paddle
The direction of each blade is matched / parallel to each other. – This means the blades are not angled.
This paddle comes to my mind because of symmetry. – A symmetrical paddle which paddles symmetrically and in a straight line.
Thus, you wouldn’t be surprise that many beginners start kayaking by using this paddle, simply because it is intuitive and the paddlers don’t have to keep track the grip movement.
Same goes to me. I used unfeathered paddle for my first kayaking. This paddle was so natural to me that I felt so comfortable using an unfeathered paddle and I was able to kayak in a straight line.
However, for an experienced paddler, you would notice there are a lot of twists of wrist when kayaking, which essentially reduces the efficiency of kayaking technique. – And of course, more energy taxing!
1.2 Feathered paddle
Feathered paddle, however, is a more ergonomic paddle. – That is, paddling which is matched with how our body works.
However, when I first got a feathered paddle, I seriously didn’t how to use it. My paddling was so awkward and it was an utter disaster. FML!
But, if you look at those professional kayakers, most of them, if not all, use feathered paddles.
Why is this type of paddle preferred while it is awkward to use it in the first hand?
Reason No. 1
We all have a DOMINANT hand. – Generally, but isn’t all the cases, if you are left-handed, your dominant hand would be left, and vice-versa.
This affects the way you hold your paddle. Your dominant hand is “locked”, meaning your dominant hand grip movement is fixed when paddling.
On the other hand, the grip of your non-dominant hand should be “relaxed” to allow the shaft to “rotate” when you are paddling, so that you don’t have to rotate your wrist excessively. – To preserve energy and avoid wrist injury in the long run.
What I know is some people are comfortable with the feathered paddle for their FIRST kayaking. – Well, glad for them because they save the time to be comfortable to the feathered paddle.
Reason No. 2
Feathered paddles are more aerodynamic. – Better to move through air because of less air resistance.
Why?
Because when you stoke your paddling from the catch phase to recovery (discussed in the section below), the other side of your blade is “travelling” convexly through the air.
The direction of your paddle is parallel to the kayak and it “pierces” though the air. Because of this, air resistance is reduced, and it enhances kayaking efficiency. Hence, greater speed.
You would notice in a competition, the time margin could be just 0.1 second between the champion and the first runner up. – Could you imagine the champion may lose it if he uses an unfeathered paddle?
How to “feather” your paddle?
You would notice a paddle consist of two shafts with blades, and the joining part, i.e. the ferrule, is where you could “offset” your paddle, meaning to adjust the feathered angle.
Which angle is the “best”? – It is believed that that the ideal angle is between 30 to 45 degrees.
But, you could explore yourself by experiencing different angles for your feathered paddle and choose the most which is more comfortable and natural to you.
Lastly, take note of your dominant hand. If your dominant hand is right, then you have to adjust to RIGHT feathered paddle, and vice versa.
Now, I realized why my paddling looked so awkward. Because I am LEFT dominant but I used a RIGHT feathered paddle. Swtttttt!
2. Body Posture and Leg
As a general rule, sit straight and neutral, no leaning back or forward excessively, when you are paddling. The reason is a good sitting posture allows a nice spine alignment and it optimizes body rotation.
When body rotation is optimized, the paddling will be in full-range of motion, and hence, better kayaking technique.
I believe you notice the knees are moving up and down while the kayakers paddle. Shouldn’t our legs remain still while paddling?
The fact is, your legs will move naturally if you are paddling correctly.
Plus, the movement actually involves “pushing” the kayak, so the kayak can move further.
Maybe you could do this at home: siting on a bench and holding a stick to simulate paddling movement. When you rotate your torso while you’re “paddling” your stick, you would notice your legs move in the same fashion as those kayakers.
Notice that the movement is similar to Russian twist? – You know this if you are into body weight exercise / calisthenics.
3. Forward Stroke Kayaking Technique
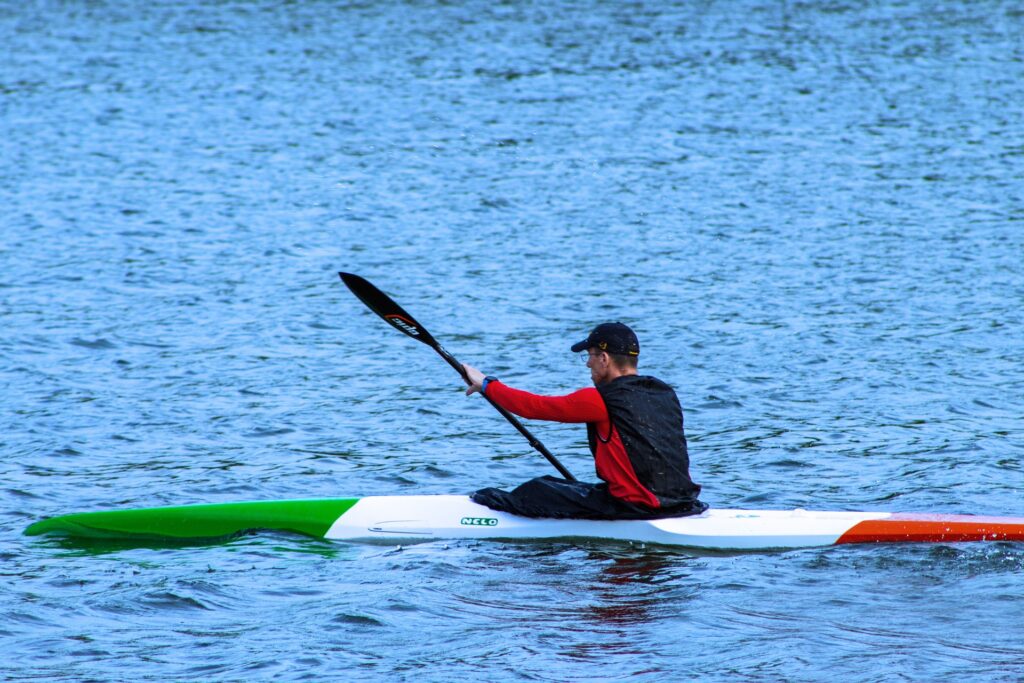
Bread and butter of paddling, no doubt.
You may think that forward stoke is just like drawing circles while moving through the water, and each stroke just takes around a few seconds, perhaps?
In fact, there are a lot of mechanics happen just within these few seconds. Generally, we can divide a forward stroke into 3 phases, i.e. catch, power, and release and recovery.
This technical part may sound strange to you. But, if you are a swimmer, you could relate this to swimming, i.e. front crawl and backstroke.
3.1 Catch phase
As a starting point, hold your paddle with your “bent” top arm and your “straight” bottom arm. Your bottom arm should be at SHOULDER level.
Then, immerse your blade into the water as vertically and close to your kayak as possible. – Remember to sit straight and don’t lean forward excessively to purposely “catch” more water, because you just waste your energy by doing this.
The direction of the blade should be PERPENDICULAR to the kayak.
3.2 Power phase
After the catch, paddlers may have tendency to pull the blade as hard as possible to generate great propulsion. – This is not a good idea.
In fact, two forces have to be in place concurrently, i.e. “push” your top arm and “pull” your bottom arm.
When you do this while paddling, you would notice your top arm is straightening whereas your bottom arm is bending.
Try to paddle as close to your kayak. Also, rotate your torso to optimize your paddling range of motion and allow your legs to “push” the footrest of the kayak.
But, don’t over rotate your torso because it will make paddling look awkward and deplete your energy.
3.3 Release and recovery phase
Once it reaches your optimal torso rotation, release your blade out to the water.
At this phase, your forward arm almost becomes a straight arm, and your bottom arm is bent.
Observe the direction of your blade. The direction should be roughly facing to your kayak, so that the water splash is minimal when the blade exits the water.
Or, you will create a lot of water splash if the direction of the blade is perpendicular to the kayak. If this is the case, you need to relook whether is because of your gripping of your paddle or under-rotation of torso.
Once the blade exits the water, continue to “push” your “top” arm to your SHOULDER level and lift your “bottom” arm above your shoulder level.
Here, arm characters exchange – the “top” arm becomes the straight “bottom” arm at the shoulder level whereas the “bottom” arm becomes the bent “top” arm.
Then, paddle the other side and repeat the phases.
For better understanding, let’s watch this video.
4. Moving in a Straight Line
Sometimes, your kayak still doesn’t move in a straight line. Your kayak may move in “zig zag” pattern or deviate to one side.
Maybe it is because of your technique or the weather and water condition.
4.1 Under common situation
Under this situation, i.e. weak wind and water current, your issue might be due to your kayaking technique.
Then, revisit your gripping and your technique. Check whether your dominant hand has stronger stroke; whether your posture is not neutral enough; or whether your force of pushing the footrest is not balanced?
Or, maybe you use forward strokes on one side and use sweep strokes on the other side?
Basically, it means whether the technique you exert on both side is SYMMETRIC or not.
4.2 Windy or strong current
When you are paddling on a windy day and with strong current, chances are your kayak will tilt to one side.
In this case, you need to adjust your stoke and paddle harder on the side against the direction of the wind and current. – This is realllly frustrating because sometimes the wind and current are so strong that the kayak is “pushed” naturally even when you’re just chilling on the kayak.
Practice & Practice to Improve Kayaking Technique
Again, don’t expect you can perfect the kayaking technique in short period of time.
Just be mindful when practice, like any other sports where the athletes fine tune their techniques by doing different kinds of drills while training.
Look at those professional kayakers. We admire their glory and achievement but we always ignore their persistency in practicing to achieve the achievement what we perceive through newspapers, TV and social media.
Relevant posts